

Remove the Background from a Scanned Signature
ClearRemover ·
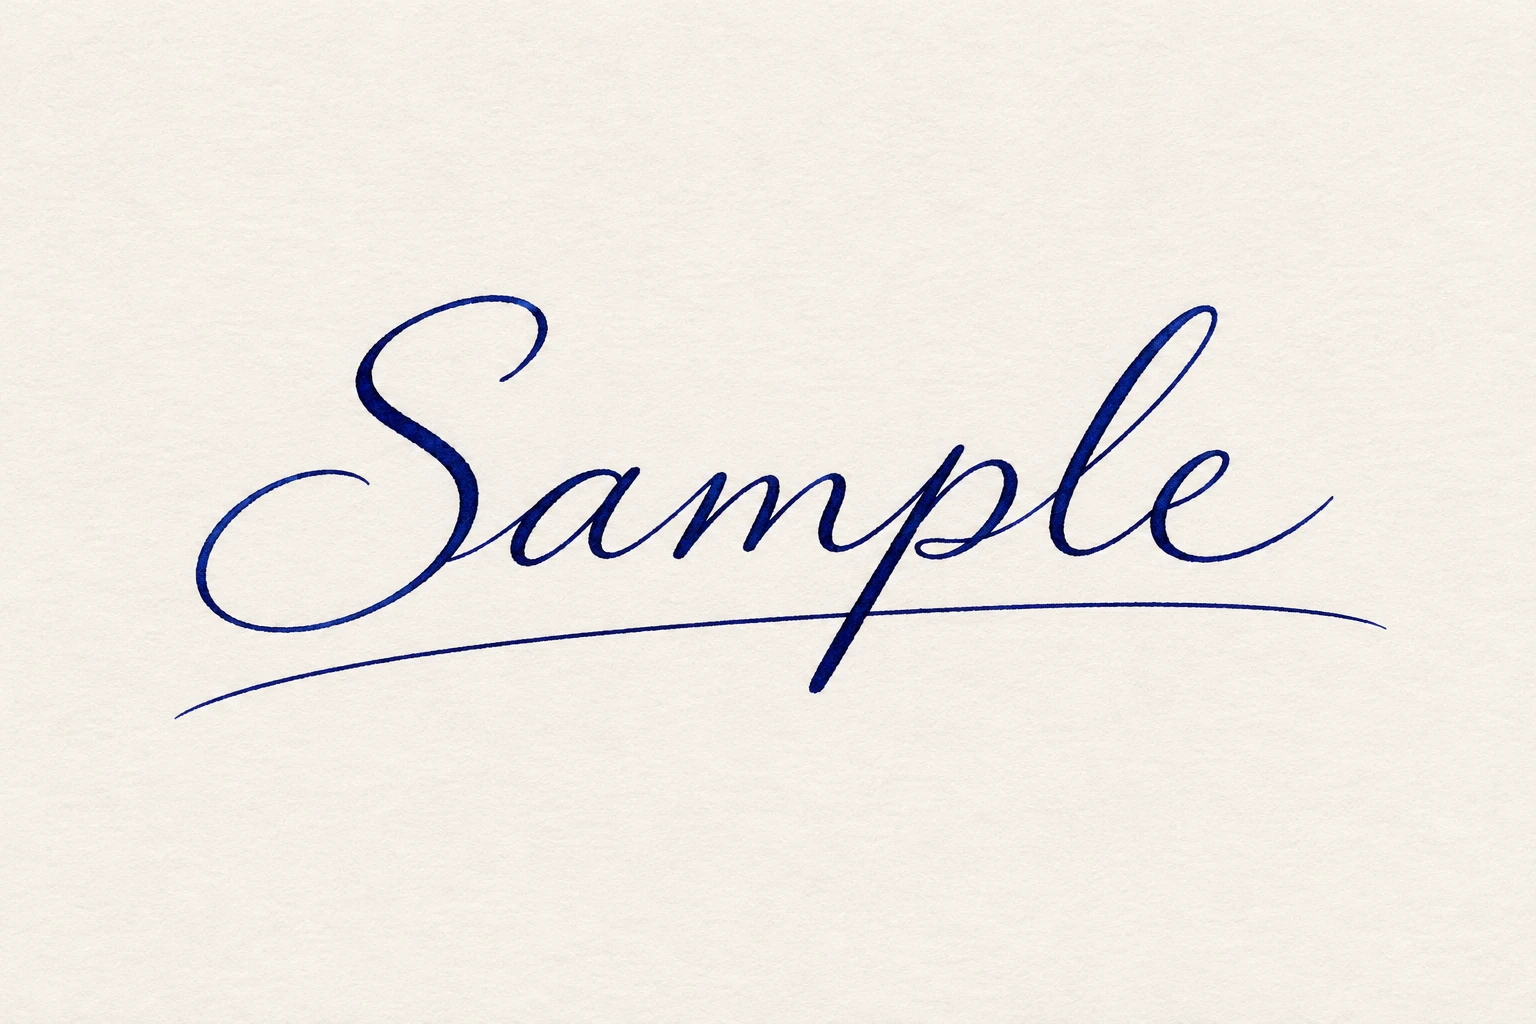
Before
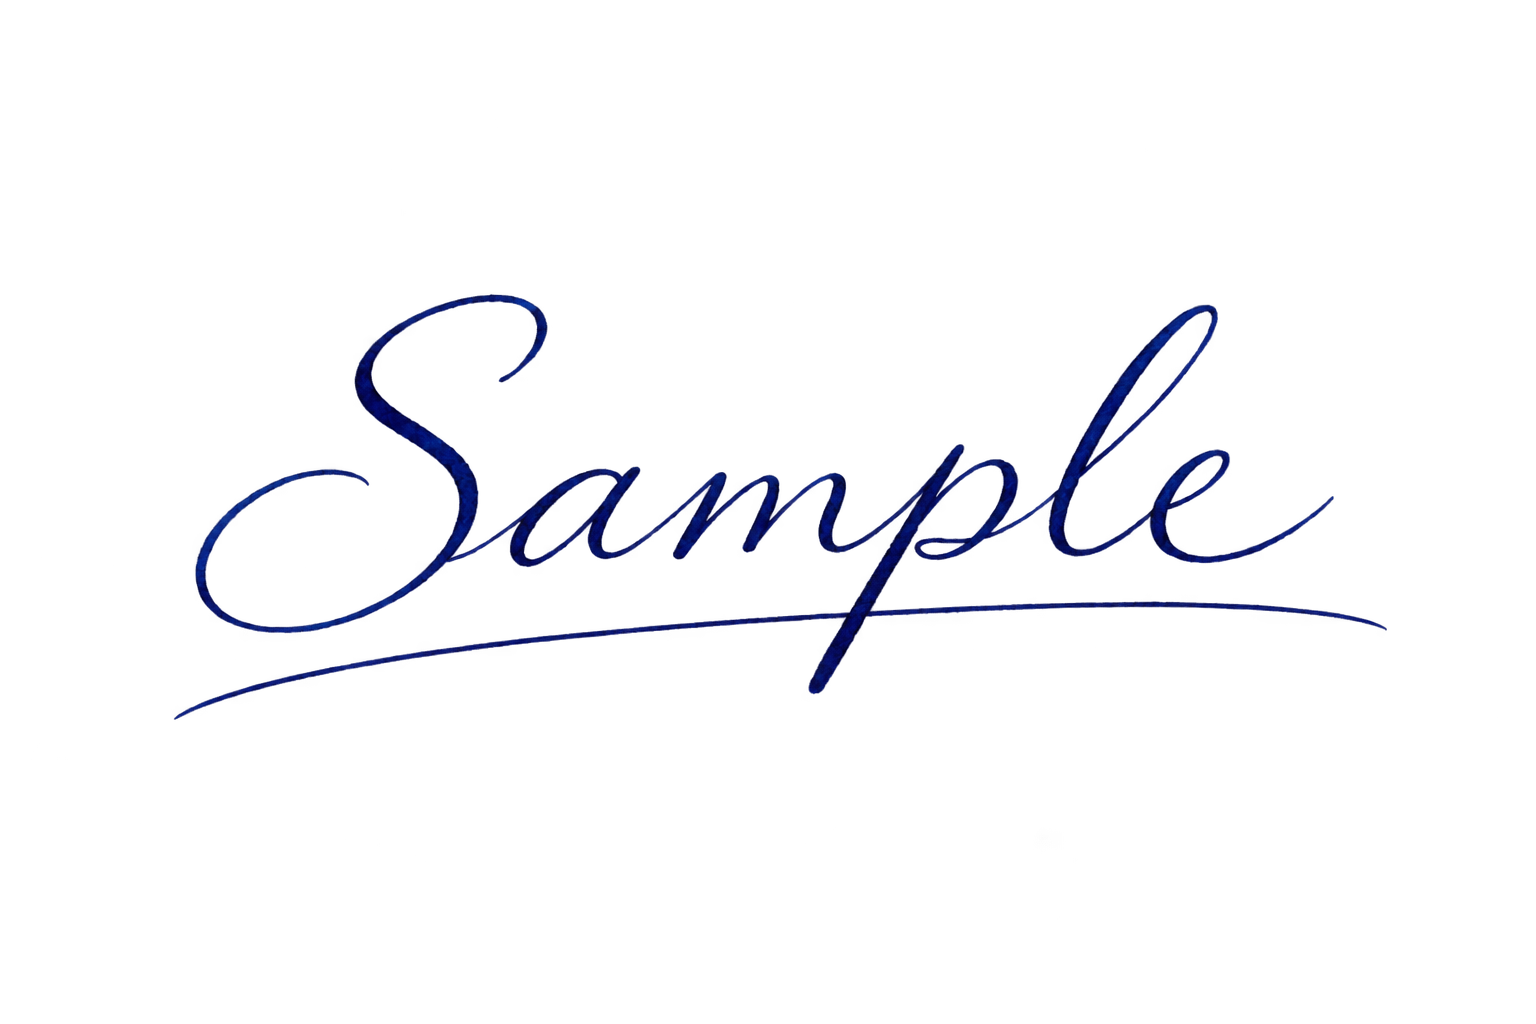
After
To remove the background from a scanned signature, keep the ink as the foreground and export the empty paper area as transparency. Start with a close crop, use background removal, and check the thinnest strokes before saving the PNG. A clean-looking preview is not enough if a dot, loop or connecting line has disappeared.
The comparison above uses generated “Sample” handwriting. The After image has real transparent areas, so the orange surface shows around the ink and through the loops. It illustrates the intended cutout, not a measured ClearRemover result or a real person's signature.
Crop the page before uploading
Work from your own signature image and keep the original scan. Crop out the rest of the page in your image editor, leaving a little space around every stroke and the end of the underline. ClearRemover's background tool does not have a crop control.
Empty paper still counts toward the image dimensions. For example, shrinking a 3000 px page to 1024 px would turn a signature area 400 px wide into roughly 137 px. Cropping the page first gives the handwriting more of the available pixels. It does not create detail that a blurred scan never captured.
Check that the source includes the whole signature. An underline touching the scan boundary cannot be recovered by removing the paper. Use an evenly lit scan or a sharp photo without a phone shadow crossing the ink. A ruled line that crosses a pen stroke is also part of the image; separating the two may require manual editing.
If you already have a transparent original, keep that file rather than uploading it for another removal pass.
Remove the paper in ClearRemover
Open the transparent background maker. Choose background removal rather than the text or object eraser: you want the handwriting to remain and the paper to become empty space.
- Upload the cropped image. JPG, PNG and WebP are supported, up to 20 MB. PDF scans need to be exported as a supported image first.
- Complete verification if prompted. Processing starts automatically once verification passes. There is no brush mask to paint and no signature-specific detection setting.
- Inspect the cutout. Compare the initial capital, small letter connections, enclosed loops and long underline with the original. Check any detached dots separately; they can be mistaken for background noise.
- Download the PNG. Use the downloaded file in your document or design, rather than taking a screenshot of the preview.
ClearRemover uses automatic foreground separation. It has no threshold slider or restore brush for bringing back an individual missing pen stroke. If the result removes part of the handwriting, reject that cutout instead of assuming the missing mark is harmless.
Test the saved PNG on two backgrounds
Place the PNG over a light gray surface, then a darker contrasting surface in your destination editor. Both should show through the spaces between strokes and inside loops. A pale rectangle means some paper remains or the file was flattened later.
Look along the ink edges for a white fringe. At actual pixel size, check that a thin connection is continuous rather than a row of broken dots. Then view the signature at the size it will appear in the document. A defect that is invisible in a large preview can make a small signature look faint or jagged.
Some partial transparency along the edge is normal: it helps a curved pen stroke blend into its new background. A broad translucent band through the middle of a dark stroke deserves a closer comparison with the scan.
PNG supports transparency; ordinary JPEG does not, as documented in MDN's image format guide. Keep the PNG when transferring the cutout. If a white box appears only after inserting or sharing it, use the PNG white-background troubleshooting guide to find where that change happened.
If automatic removal loses fine ink
Try a sharper, closer source before another processing run. Repeating the same scan cannot guarantee a different separation, and each new attempt can use another edit.
For flat dark ink on light paper, a desktop color-to-alpha workflow offers more control over the paper color and stroke opacity. GIMP's Color to Alpha documentation explains how the filter converts a selected color into transparency while retaining blended edges. It also shows why gray foreground details can become semi-transparent and how the Opacity threshold affects them.
In GIMP, add an alpha channel if needed, open Colors → Color to Alpha, choose the paper color, and review the preview while adjusting the thresholds. Check the entire signature again after exporting. Those are GIMP controls, not settings available in ClearRemover.
File size, resolution and free edits
ClearRemover resizes inputs larger than 2048 px on the longest side before processing. Background removal downloads a transparent PNG up to 1024 px on the longest side. It does not offer the HD option available for selective erasing, and the output is a raster image rather than an editable vector path.
The shared daily allowance is one Standard edit without an account and one additional Standard edit after Google sign-in, subject to availability. It resets at 00:00 UTC. Additional background removals cost 1 credit each; see current pricing before making several attempts.