

Remove a Finger from a Photo Corner: Crop or Repair?
ClearRemover ·
Before
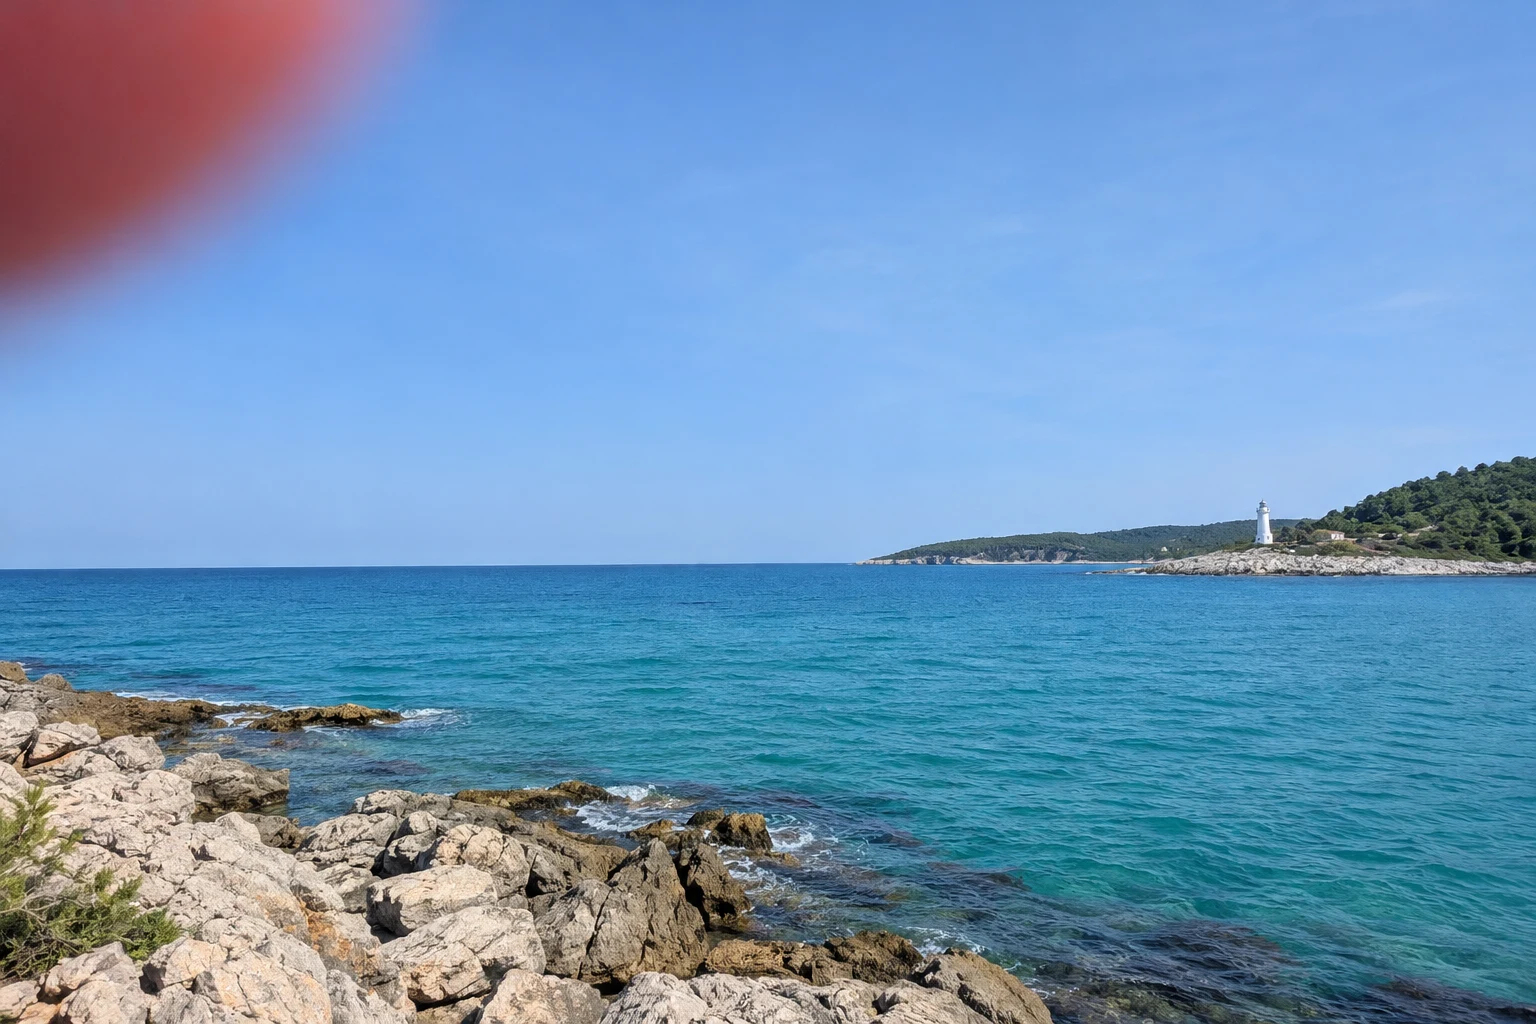
After

To remove a finger from the corner of a photo, first preview a crop. If the finger sits entirely outside the part you want to keep, cropping avoids inventing any replacement scene. If that crop would cut off important framing, try a local fill that covers both the finger and its blurry colored edge.
Keep the original and check nearby shots before editing. Another frame may show the corner clearly. A fill can make the obstruction less distracting, but it cannot verify what the finger hid.
Choose between cropping and filling
Open a copy in your phone's photo editor or another editor with a crop control. Try moving the top and side boundaries past the obstruction, then check the whole composition. Keeping the same aspect ratio may remove more of the opposite side than you expected.
| What happens in the crop preview | Next step |
|---|---|
| The finger disappears and the subject still has enough space | Save a cropped copy. No fill is needed. |
| The crop crowds a building, cuts off a person or loses the intended wide view | Consider local fill if the covered area is simple. |
| The finger covers a face, lettering or a unique detail that must stay accurate | Use a clearer original or another frame. Generated detail is not a reliable replacement. |
In the generated comparison above, the upper-left finger blocks sky while the coastline and lighthouse remain visible. Cropping away the corner would change the framing; the illustration shows a plausible sky repair at the same image dimensions. It is not a ClearRemover test or a reconstruction of verified hidden clouds.
Mark the finger and the soft red edge
Open the object remover with the uncropped original. ClearRemover accepts JPG, PNG and WebP files up to 20 MB. It has no crop control or dedicated finger detector.
- Choose Objects. Mark the obstruction with the manual brush; leave the scenery you want to retain outside the selection.
- Cover the corner right up to both image borders. A finger touching the top and left edges is not a floating object. Check that a narrow strip is not left along either border.
- Include the faded pink or purple fringe. The visible obstruction may extend beyond its darkest part. Follow the full blurred arc into the sky, using a smaller Brush size near any nearby detail. Use Undo if a stroke catches something that should remain.
- Press Erase after reviewing the whole selection. Several brush strokes can form one selection before a processing run. Compare the repaired corner with the adjacent sky before downloading.
Painting only the solid-looking center can leave a curved red stain. Painting a large clean section of sky unnecessarily gives the fill more area to replace. Aim to cover the visible contamination without sweeping across the whole image.
Check the corner at full size
Look for a remaining pink arc, a bright wedge at the image boundary or an abrupt change in the sky's gradient. Follow any cloud edge that enters the repaired area. At a small preview size, a soft seam can be easy to miss.
Then compare the full composition with the original. If your finger crossed the horizon or a roofline, inspect that line for a bend or a step. Check that the edit did not add a new object in the filled corner.
For a poor result, restart from the original with a corrected selection. Each processing run can use another free edit or credits. When you need control over the source texture, Photoshop's Content-Aware Fill workflow allows adjustment of the sampling area used for a fill. ClearRemover does not offer that sampling-area control.
If the obstruction covers detail that matters, keep the crop or choose another photo. The guide to removing a sticker and finding the original explains why plausible fill should not be treated as recovered pixels.
Download limits and edit allowance
ClearRemover resizes inputs larger than 2048 px on the longest side before processing. Standard results download as JPG, up to 1024 px on the longest side. Selective erasing does not preserve PNG transparency.
HD uses 2K processing and downloads the full generated result for 2 credits per erase. It does not guarantee the original dimensions or recover the exact scene behind the finger. Additional Standard erases cost 1 credit.
The shared daily allowance is one Standard edit without an account and one additional Standard edit after Google sign-in, subject to availability. It resets at 00:00 UTC. See current pricing before making several attempts.