

Remove a Mannequin from a Clothing Photo
ClearRemover ·
Generated source
Illustrative target
To remove a mannequin from a clothing photo, first check which garment details the mannequin hides. Exposed plastic beside a sleeve is a different repair from the inside of a collar that was never photographed. A fill can create a plausible interior, but it cannot verify a missing label, seam or lining.
For a catalogue image that must show the actual garment, keep the original photograph and capture the hidden areas before editing. A clean neckline matters less if the edit changes what you are selling.
Decide what needs to replace the mannequin
Look at the neck opening, cuffs and hem. For each visible piece of mannequin, identify what should appear after it is removed.
- Backdrop beyond the garment: local cleanup may be suitable if the surrounding background gives the repair enough context.
- An open sleeve or neckline: decide whether the opening should reveal empty space, the inside of the garment or both.
- A hidden label, facing or lining: use another photograph of that exact area when its appearance needs to be accurate.
The finished ghost-mannequin look often combines a garment-on-form photograph with additional interior views. Pixelz's photography workflow describes photographing the hidden garment areas separately and combining them in an editor. That provides real source material for a collar interior. ClearRemover does not currently provide that multi-image compositing workflow.
What the generated example illustrates
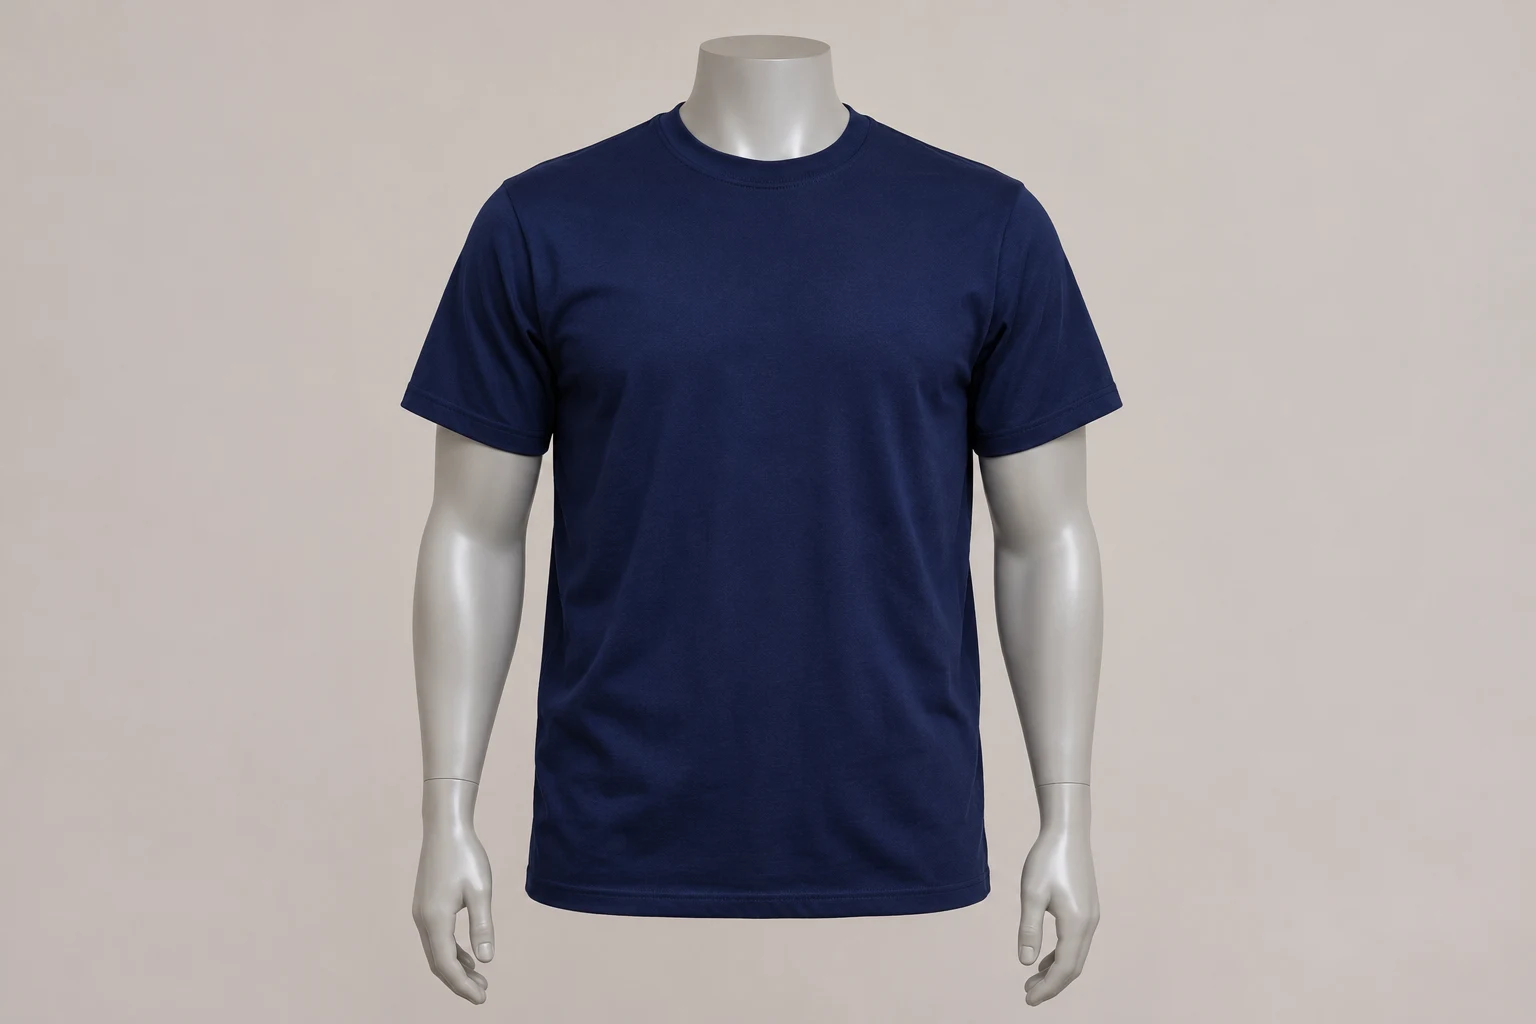
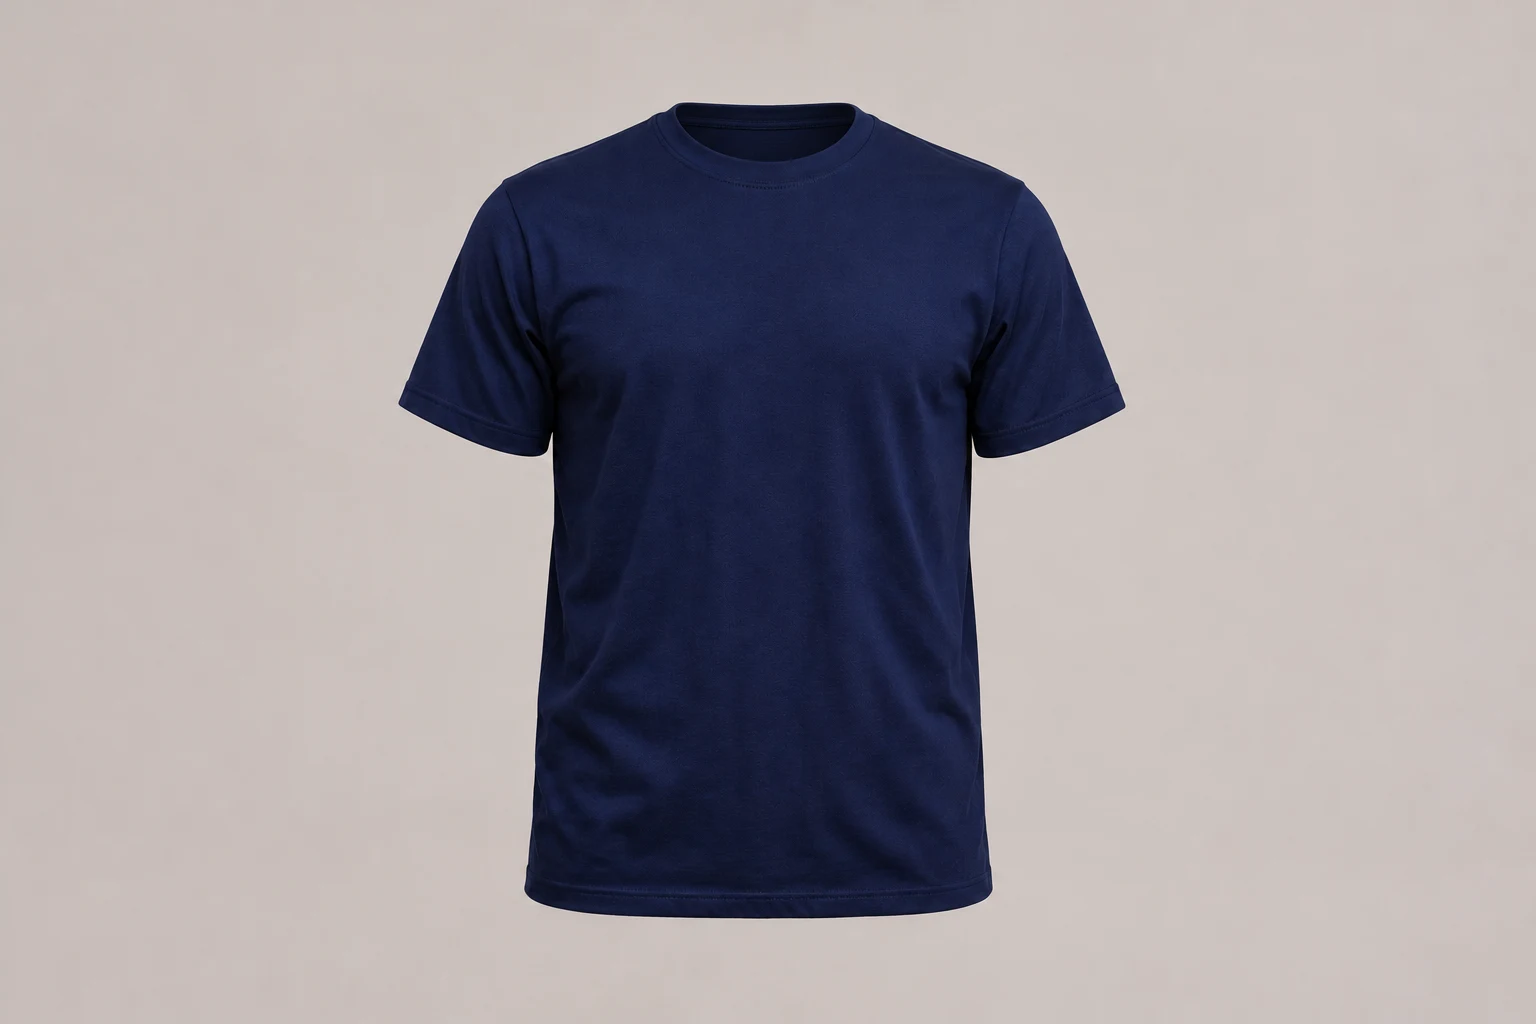
The paired example shows a generated navy T-shirt source and a generated target with the plastic neck and arms removed. Its inner collar is invented illustration detail. It is not a ClearRemover processing result, an exact garment-preservation test or a verified view of hidden fabric.
Try a small exposed area first
For a local repair, open the object remover with the original photo and choose Objects. Use the manual brush to mark the mannequin surface that should disappear. Leave the shirt, buttons, stitching and fabric edges outside the selection.
- Start beside a clear garment edge. An exposed neck above a collar or a hand beyond a cuff gives you a smaller region to judge than a whole torso.
- Cover the visible mannequin and its unwanted fringe. Reduce Brush size close to cloth. Use Undo if a stroke catches the sleeve or collar.
- Check the whole selection before running Erase. Do not mark clothing just because it touches the form. Removing a display stand also creates a separate repair near the hem or floor.
- Compare the saved result with the original. Inspect the nearby cloth as well as the filled area. An erased neck with a distorted collar is an unsuccessful product edit.
Objects is a general fill workflow, not a dedicated mannequin detector or a garment-preservation mode. The People option asks the image model to remove a person and associated items; it is not a substitute for selecting only the exposed form. Neither option guarantees that unmarked fabric remains pixel-identical.
Several strokes can form one selection before processing. Each new processing run can use another free edit or credits, so inspect the first result before starting a series of attempts.
Inspect garment construction, not just empty space
Follow the collar from one shoulder to the other. Check that its width, opening and seam still agree with the source. Do the same for cuffs, side seams, buttons and the hem.
Compare patterned fabric on both sides of the repair. A generated fill can introduce a new fold, repeat a stripe incorrectly or invent lettering where a label would be. Do not use a plausible replacement as evidence of the garment's actual construction.
If the mannequin covered an important interior, stop trying to infer it from that one view. Use a matching interior photograph in an editor with layers and masks, or photograph the garment again with a removable-neck form. The sticker-removal guide explains the same limit on recovering detail hidden behind an opaque object.
Keep backdrop removal separate
The transparent background maker automatically separates a foreground subject from its background. It has no manual control for choosing which exposed mannequin pieces to discard while protecting all the clothing.
Selective erasing keeps a scene and exports JPG. Background removal exports transparent PNG. Choose the operation for the file you need; an object-removal result does not become transparent when its filename is changed. The PNG saved-file checks help distinguish a genuine cutout from a white-filled image.
Check file limits before making a catalogue set
ClearRemover accepts JPG, PNG and WebP inputs up to 20 MB. The selective eraser prepares inputs at no more than 2048 pixels on the longest side and encodes them as JPEG before processing.
Standard erasing downloads JPG at up to 1024 pixels on the longest side. HD uses 2K processing and costs 2 credits per run; it does not promise the camera original's dimensions or exact hidden fabric. Compare the saved dimensions with the requirements of your destination before editing a whole collection.
Standard edits share a daily allowance with background removal: one edit without an account and one additional edit after Google sign-in, subject to availability. The allowance resets at 00:00 UTC. Further Standard runs cost 1 credit; check current pricing before proceeding.
Keep the unedited source and any real interior photographs beside the final file. Reject the edit if removing the form changes the garment's shape, label or construction.