

Remove Power Lines from a Photo: Avoid Blurry Patches
ClearRemover ·
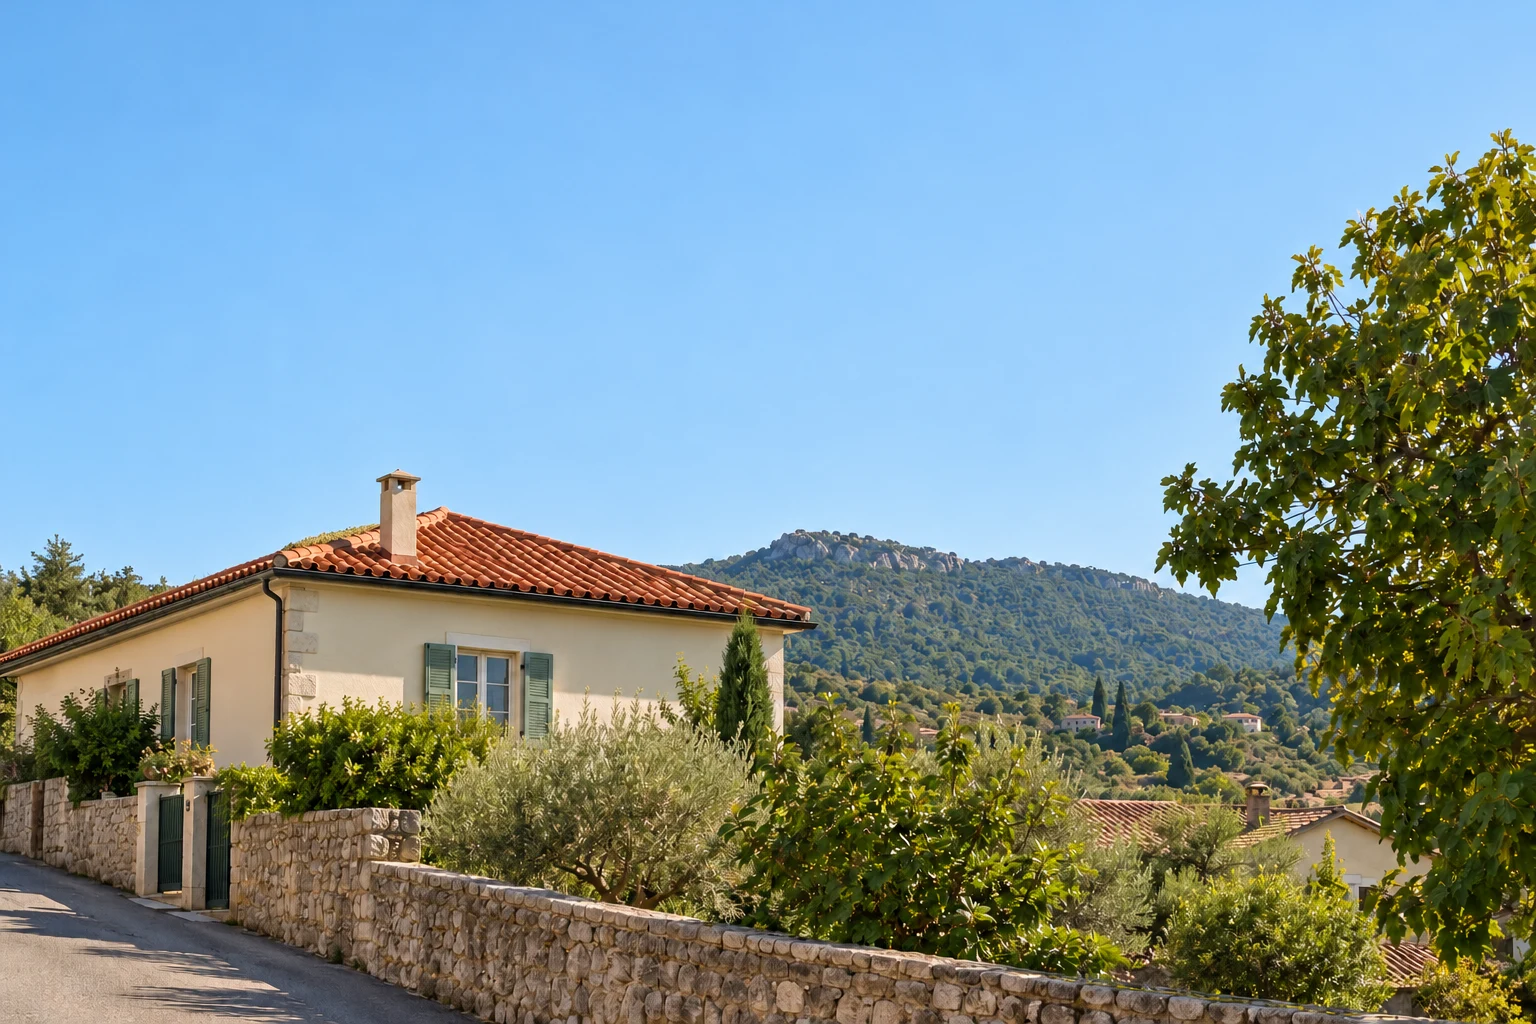
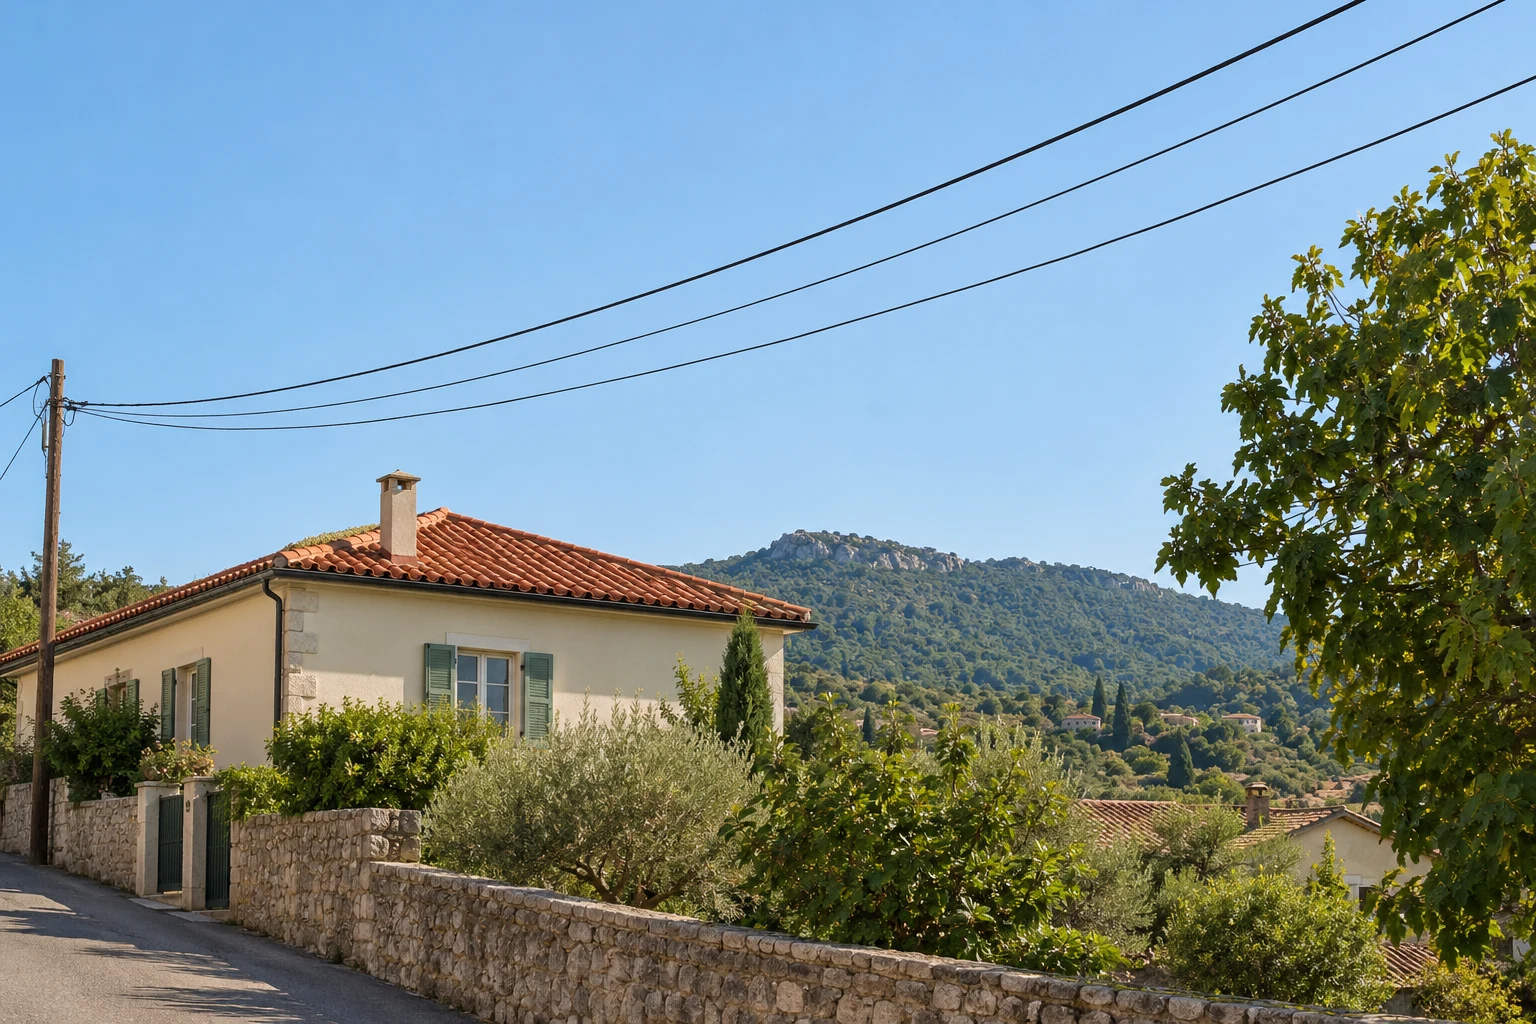 BeforeAfter
A wire across open sky is a different repair from a wire crossing a roof, a window frame or bare branches. To remove power lines from a photo without leaving a blurry strip, keep the selection close to the wire and inspect every place where it crosses a real edge. A smooth patch can hide a cable while also damaging the building behind it.
Start with a copy of the original. If the lines sit near the border and a small crop keeps the composition, cropping avoids reconstructing that part of the scene. Otherwise, use the object remover to paint over the lines you want removed.
Check what is behind the wire
Before brushing, follow the cable from one end to the other. Note where its background changes.
| Background behind the wire | What to check after removal |
|---|---|
| Clear sky | A darker streak, a pale halo or a sudden change in the sky gradient |
| Clouds | A soft band or repeated cloud texture |
| Roofs and window frames | Bent edges, missing corners or lines that no longer meet |
| Branches, fences and brickwork | Missing fine detail or a repeated pattern that breaks at the repair |
The open-sky section is a reasonable place to start. Where a wire hides a roof corner, the editor has to infer the missing shape. The result may look plausible without matching the real building.
Brush the wire, then review the crossings
- Upload the copy. ClearRemover accepts JPG, PNG and WebP files up to 20 MB. Use the largest useful source you have, while allowing for the processing and export limits below.
- Reduce the Brush size. Cover the cable and its visible fringe with a narrow stroke. Avoid painting a wide ribbon of sky around it. Use Undo if a stroke catches part of a roof or another detail you want to keep.
- Inspect the selection before erasing. Follow the full length of each marked wire, including its ends at the photo border. Gaps can leave short dark fragments behind. For several wires over the same simple background, you can mark them before one erase; every separate processing run may use another free edit or credits.
- Run the erase and compare the result. Check the sky first, then each roofline, pole and branch that the cable crossed. ClearRemover uses a painted selection; it does not have a dedicated automatic wire detector or a manual clone-source control.
- Download and inspect the saved file. View it at its actual pixel size, then at the size you plan to share. A small preview can conceal a kink in a roof or make a soft patch seem sharper than it is.
For a difficult crossing, keep the original beside the result. If one section is wrong, start again from the original with a better selection instead of repeatedly processing the damaged copy. The same selection principle helps with removing text while keeping the background, but wires need extra attention to long edges and intersections.
If the wire disappears but the repair looks wrong
A blurry strip remains in the sky. Compare the selected width with the cable's width. Try a narrower selection from the original, keeping enough margin to include the dark fringe. If the entire download is softer, check its dimensions before blaming the selection.
A roofline bends or a window loses its corner. Stop smoothing that area. Exact geometry may need a desktop editor with a sampled healing or clone tool. Adobe's wire-removal tutorial explains how to use nearby image detail for repairs and refine difficult areas manually. Those controls are separate from ClearRemover's brush workflow.
Bits of cable remain near branches. Check whether the selection missed them. If including them would also remove fine branches, an automatic fill may not preserve enough detail. A clean source shot, a careful manual repair or a different crop can be the better choice.
A pole looks disconnected after the cables are gone. Decide whether you want to keep the pole. Removing wires alone can leave an object that looks odd in the scene; removing the pole also creates a much larger area to reconstruct.
File size, resolution and free edits
Photos larger than 2048 px on the longest side are resized before being sent for processing. Standard erased photos download as JPG, up to 1024 px on the longest side. This can reduce detail across a large source image, even when the wire repair itself is acceptable.
HD uses 2K processing and returns the full generated result for 2 credits per erase. It does not guarantee preservation of the source resolution or restore the original pixels hidden by the wire. Additional standard erases cost 1 credit after the free allowance is used.
The daily allowance is one standard edit without an account and one additional standard edit after Google sign-in, subject to availability. It resets at 00:00 UTC. Object removal and background removal share that allowance; check current pricing before planning multiple passes.
Keep the original if the photo is a record of a place or property. A cleaned image shows a reconstructed scene, so label the edit where the presence of utility lines matters to the viewer.