

Remove a Leash from a Dog Photo: Keep the Collar
ClearRemover ·
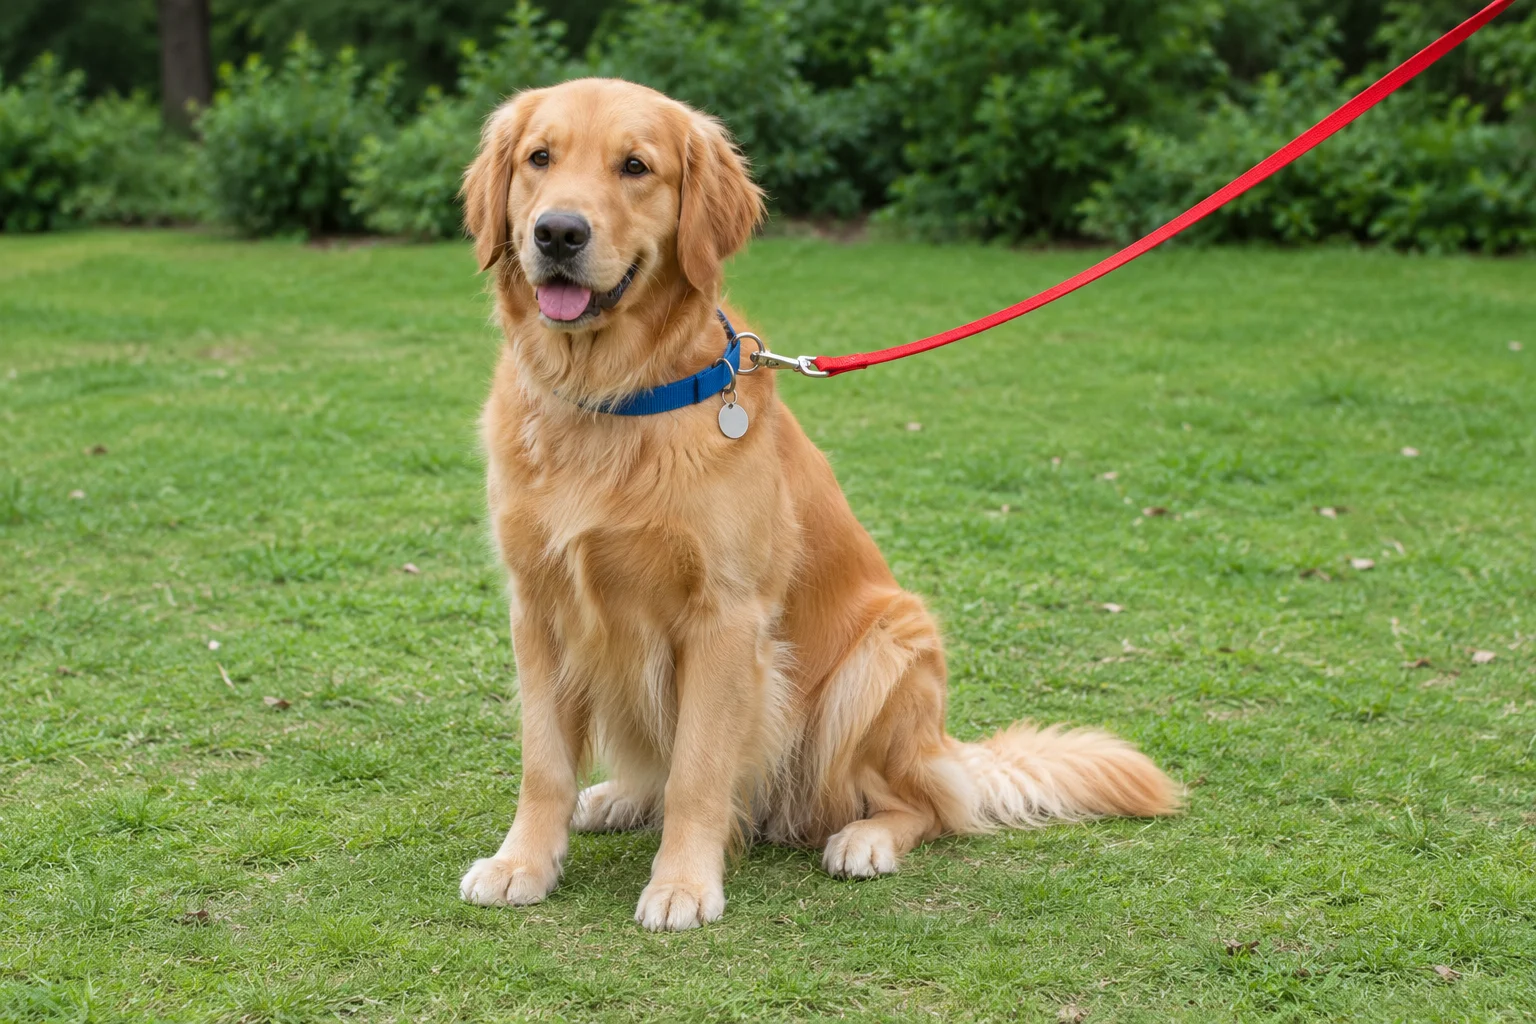
Before
After
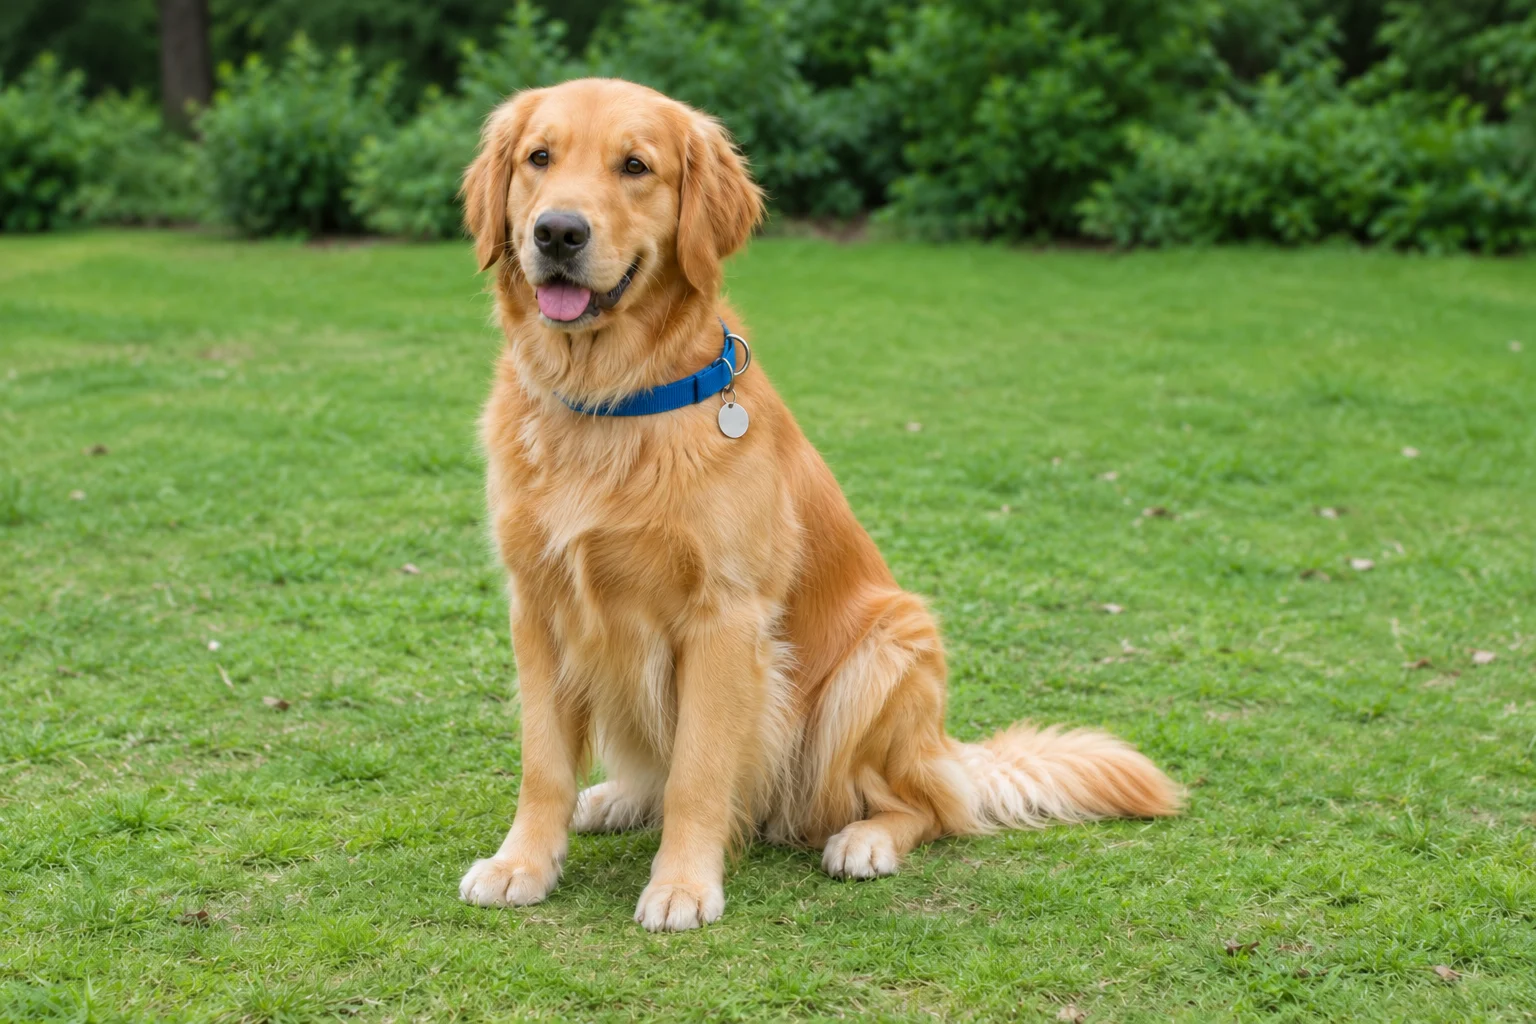
You can remove a leash from a dog photo by marking the strap and its clip, then checking the repair around the collar and fur. Leave the collar's own ring and identification tag outside the selection if you want to keep them. A leash against open grass is a simpler repair than one crossing your dog's face or chest.
Keep your dog safely restrained during the shoot. The leash can stay in the source photo; the cleanup happens afterward. If you have several frames, choose one where the leash is separated from the dog's outline before you start editing.
Decide what should stay
Follow the leash from the image border to its attachment point. The strap, spring clip, collar ring and tag may sit close together, but they are separate parts.
In the generated comparison above, the red strap and its elongated clasp are removed. The blue collar, round ring and hanging tag remain. The example illustrates that selection boundary; it is not a measured ClearRemover result or a guarantee of identical fur in your edit.
A collar pulled upward by a taut lead can still look pulled after the lead disappears. Photographer Michael Garth's leash-removal tutorial for Professional Photographers of America discusses this problem and recommends keeping the leash away from large areas of the dog's body when possible. Editing cannot reliably undo the physical effect of a tight collar.
Mark the leash in ClearRemover
Open the object remover with an untouched copy of your chosen photo. ClearRemover accepts JPG, PNG and WebP files up to 20 MB.
- Choose Objects. This is a manual brush selection. There is no dedicated dog-leash detector, and you do not need to remove the whole background.
- Reduce Brush size to follow the strap. Cover the full width of the leash and its colored edge, using short strokes around bends. Avoid marking a broad strip of grass or fur. Adobe's Remove tool instructions likewise describe a brush slightly larger than the target; that does not mean selecting the surrounding subject.
- Handle the clip separately while painting. Add the spring clasp if it should disappear, then stop at the collar's own ring. Keep the tag, collar fabric and nearby fur outside the marked area. If a stroke catches them, use Undo and repaint with a smaller brush.
- Trace the selection back to the frame edge. Check for a missed loop, an unpainted red sliver or a short piece beside the collar. Multiple strokes can be marked before one processing run; ClearRemover does not erase automatically after each stroke.
- Press Erase and compare. Inspect the collar attachment and shoulder outline before looking at the easier background section. Download the result only after checking the dog as well as the missing leash.
If the collar area is too small to select comfortably on your phone, use a larger screen. A loose selection that removes half the collar creates a different repair problem.
Review the collar, coat and background
At the attachment point, look for a partly erased tag, an extra metal fragment or a notch in the collar. Along the dog's outline, compare the shoulder shape and the direction of the fur. A smooth patch can make the leash disappear while flattening the coat.
Then follow the old leash path across the background. Check for a red halo, repeated grass or a streak through blurred foliage. Keep the original beside the downloaded image: small defects can disappear in a fitted preview and become visible when you view the file at its actual pixel size.
If a leash shadow remains on the ground, decide whether it also needs a separate selection. Keep the dog's natural contact shadow beneath its paws. The guide to removing a photographer's cast shadow explains why removing every dark area can make a scene's lighting look wrong.
When to choose another photo or repair method
A leash crossing an eye, muzzle, paw or distinctive coat marking hides detail that a fill may invent. Choose another frame when that detail matters. Removing a broad harness would require reconstructing much more of the body than removing a narrow lead.
For a poor fill, restart from the original with a corrected selection. Repeatedly processing the damaged result can make the coat less faithful, and each processing run can use another free edit or credits. A desktop editor with a sampled clone or healing tool gives you more control over which visible fur or grass supplies the repair. ClearRemover does not offer a manual clone-source control.
Resolution and edit allowance
Inputs larger than 2048 px on the longest side are resized before processing. Standard results download as JPG, up to 1024 px on the longest side; this eraser does not preserve PNG transparency. Check those dimensions before planning a large pet portrait print.
HD uses 2K processing and downloads the full generated result for 2 credits per erase. It does not guarantee the source dimensions or restore the exact fur hidden by the leash. Additional Standard erases cost 1 credit.
The daily free allowance is one Standard edit without an account and one additional Standard edit after Google sign-in, subject to availability. It is shared with background removal and resets at 00:00 UTC. See current pricing before making several attempts.