

Remove a Photographer’s Shadow from a Photo
ClearRemover ·
 BeforeAfter
To remove a photographer's shadow from a photo, first decide whether to brighten the existing surface or replace it. If you can still see the sand, stone or fabric clearly inside the shadow, a local brightness adjustment may preserve more of that real detail. An AI eraser is an option when you accept a reconstructed patch.
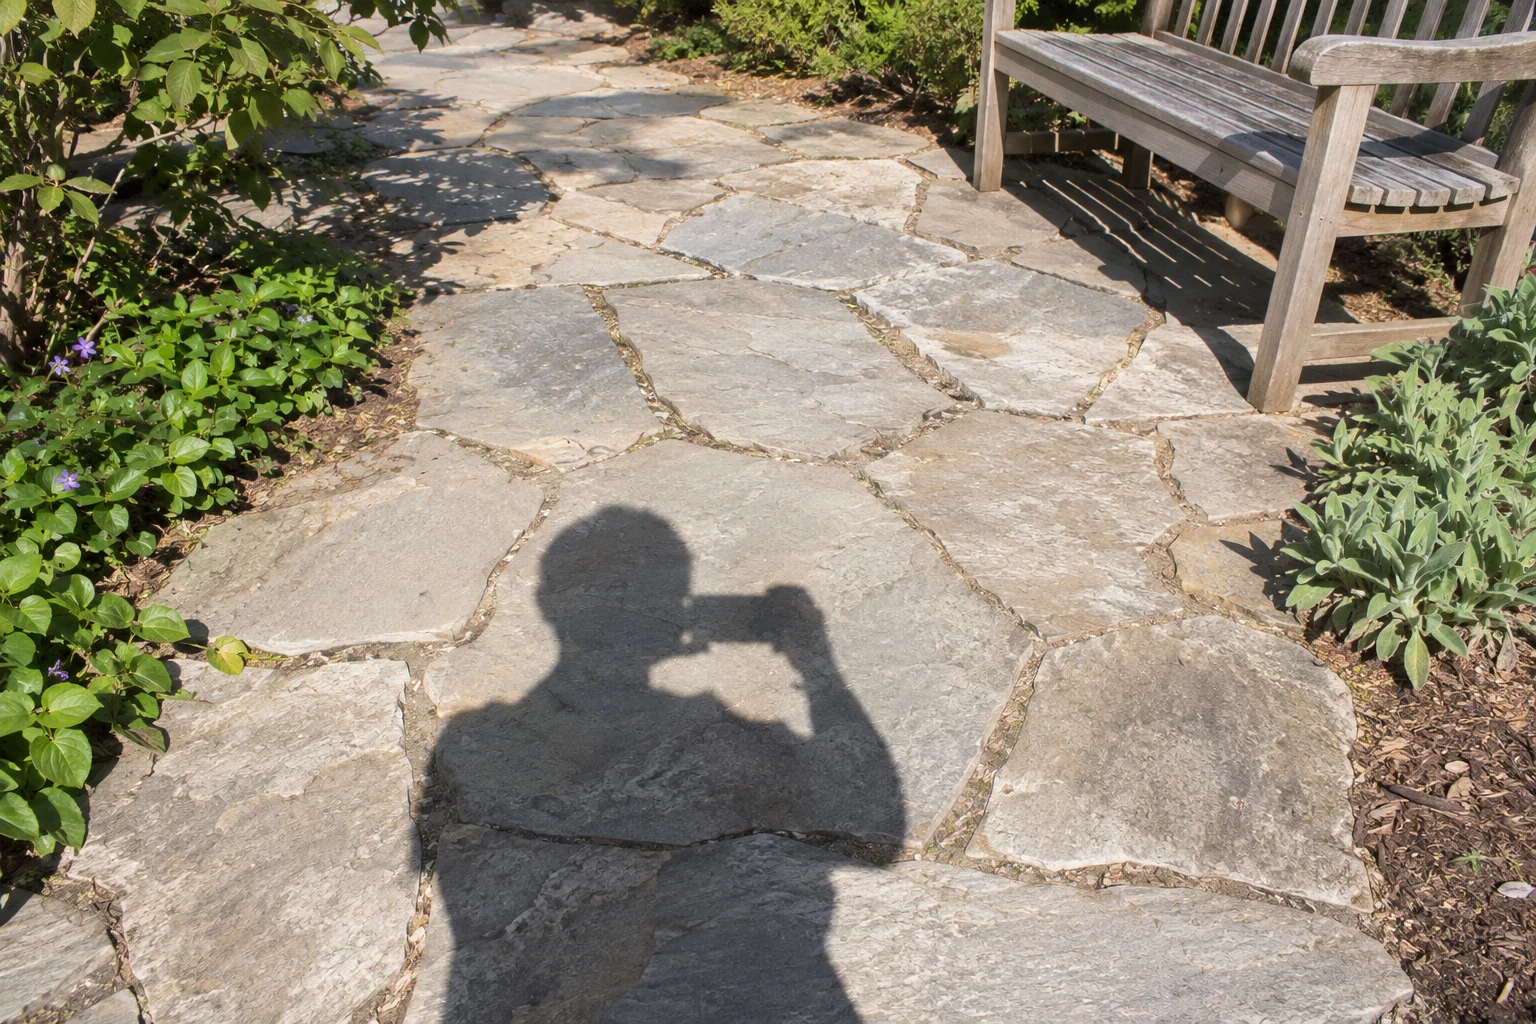
The selection matters: include the head, arms, phone and soft fringe of your shadow, while leaving shadows that belong to the bench, trees or other subjects.
Crop, lighten or erase?
A shadow at the bottom edge may disappear with a small crop. Try that first if you can keep the framing you want.
If the shadow crosses an important texture, open the original in an editor with local exposure controls. Brighten only that area and compare its color with the surrounding surface. Adobe's shadow-editing guide describes selective brightening as well as replacing shadowed texture. Raising the brightness of the whole photo can wash out the sunlit areas before the shadow looks right.
Use an eraser for a visual cleanup when the covered surface is replaceable. A patch of gravel is a different job from a shadow crossing someone's face, a painted sign or a patterned dress. ClearRemover fills the region you mark; it does not offer a local exposure brush or automatic shadow detection.
What to look for in the comparison
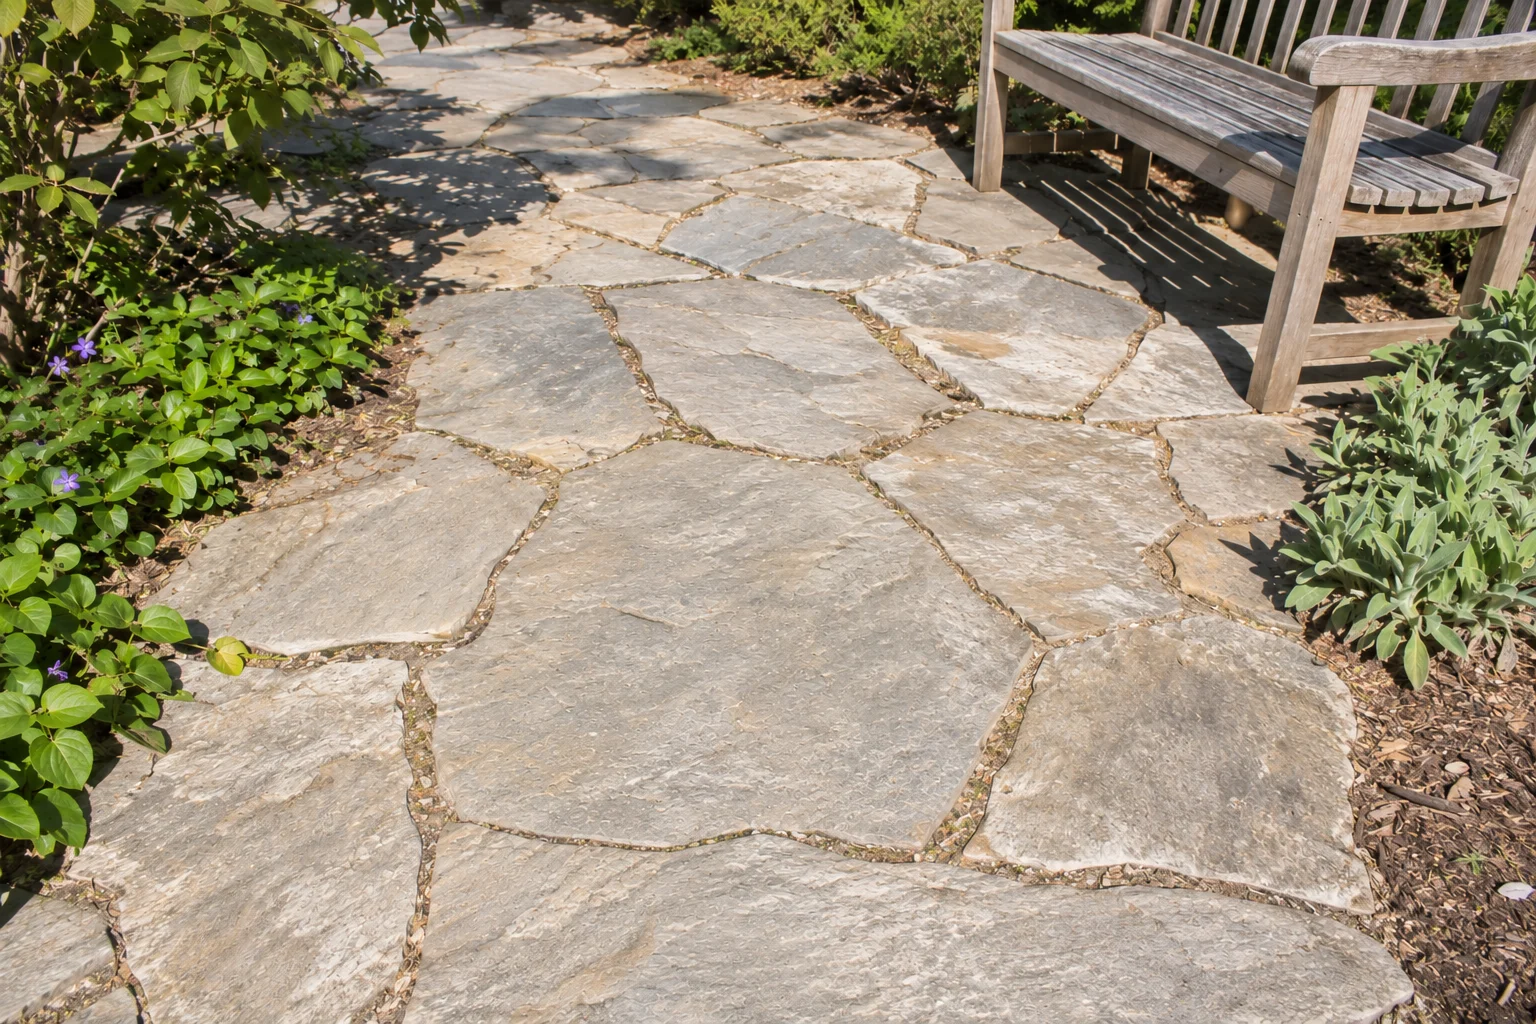
The generated example above shows a photographer's silhouette across a stone path. Slide between the views and follow the joints through the lower foreground. The bench and foliage still cast shadows, which keep the scene's lighting understandable.
This illustrates the intended edit, not a measured ClearRemover result. Generated removal can change the stones or their texture. For a photo documenting damage, an inscription or another exact detail, retain the original and use adjustments that preserve the recorded surface.
Select your shadow in ClearRemover
Keep an untouched copy of the photo, then open the photo eraser.
- Upload the photo and choose Objects. JPG, PNG and WebP files up to 20 MB are supported. You are selecting the shadow on the ground, even though the photographer is outside the frame.
- Brush over the full silhouette. Include the phone, hands and any faint edge around the head and shoulders. Follow the shadow down to the image boundary if it continues out of the frame. A missed strip can leave a dark outline after the central area is filled.
- Check where other shadows meet it. Keep the bench's contact shadow and nearby plant shadows outside the selection where you can distinguish them. Use Undo to correct a stroke that covers detail you want to keep. Where two shadows overlap, the fill has to estimate their separation.
- Press Erase, then compare the repair. Look at both the overall lighting and the surface inside the marked area. Adobe's manual Remove instructions also call attention to selecting an object's shadow; leaving part of it behind can leave a visible trace.
- Download and inspect the saved JPG. Check it at its actual pixel size and at the size you intend to share. Keep the edited file separate from the original.
Check the ground, not just the missing silhouette
On paving, trace each joint into and out of the repair. A joint that stops halfway across a slab can be more distracting than the original shadow. On sand, check footprints and ripples; on grass, look for repeated clumps or a smooth patch.
A pale halo often points to a selection that missed the shadow's soft edge. A broad patch with different color or texture may mean the replacement is unsuitable for that surface. Restart from the original with a corrected selection instead of repeatedly editing the damaged result. Each processing run can use another free edit or credits.
The guide to removing power lines without blurry patches covers a related check: whether a reconstructed area still joins the real edges around it. If precise geometry keeps breaking, try local brightening, manual cloning or a crop.
File size, resolution and edit costs
Images larger than 2048 px on the longest side are resized before processing. Standard downloads are JPG, up to 1024 px on the longest side. This can reduce detail across the whole photo, so distinguish that resize from a locally blurry repair. PNG transparency is not preserved by this eraser.
HD uses 2K processing and returns the full generated result for 2 credits per erase; it does not guarantee the source dimensions or recover the exact original surface. Additional Standard erases cost 1 credit.
The daily allowance is one Standard edit without an account and one additional Standard edit after Google sign-in, subject to availability. It is shared with background removal and resets at 00:00 UTC. Check current pricing before planning several attempts.