

Remove Objects from a Patterned Background
ClearRemover ·
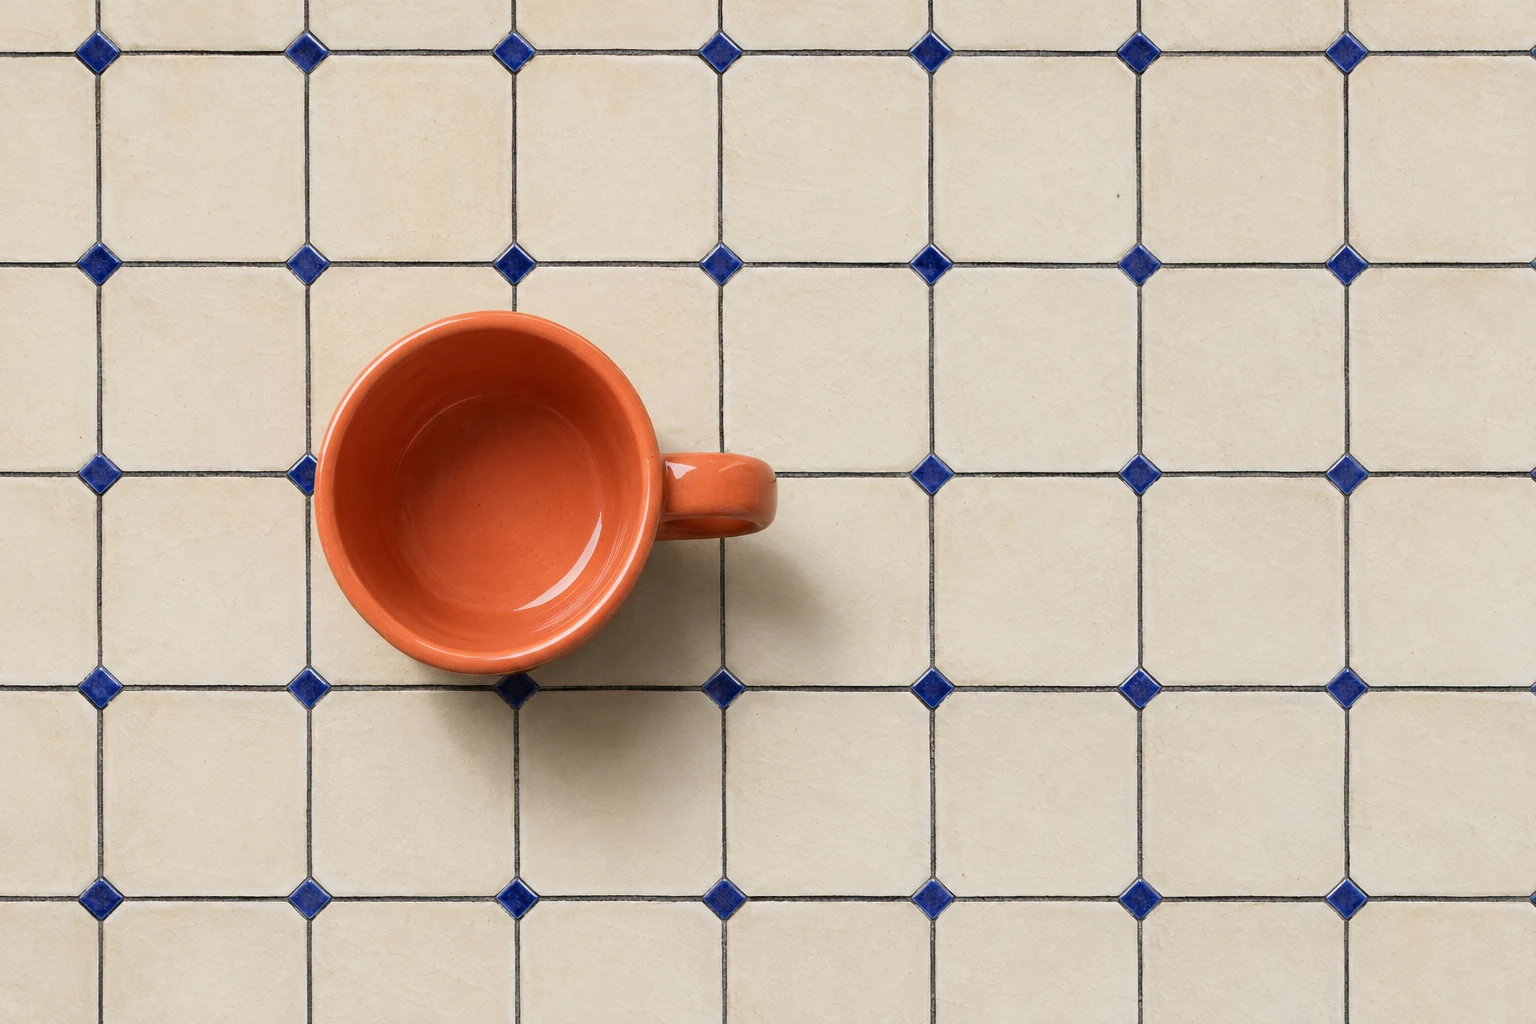
Generated source
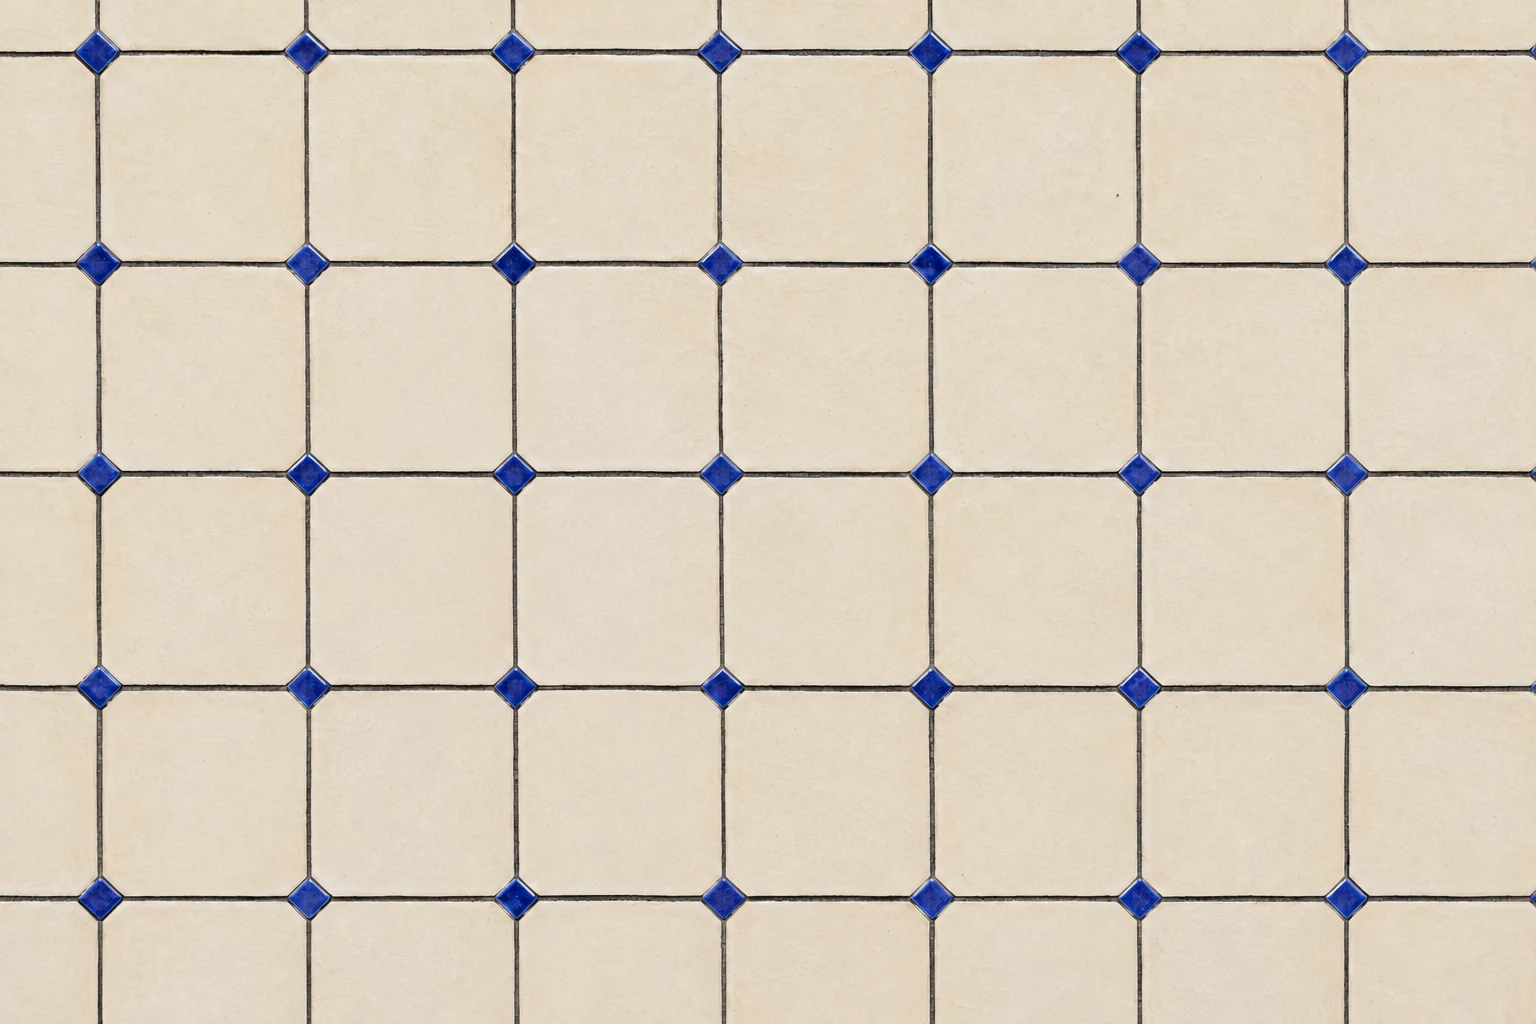
Illustrative target
To remove an object from a patterned background, check the repeat before you erase anything. The object can disappear while a bent grout line, an extra stripe or a mismatched brick still gives the repair away. Judge the filled area by how it connects to the visible pattern around it.
A small object with several clear repeats beside it is a reasonable place to try a local fill. If it hides most of the design, or the exact pattern matters for a product listing or a record of a surface, keep another unobstructed photograph as your reference.
Find the pattern's anchors
Follow each line into the object and look for where it should leave on the other side. On a tiled surface, check the grout intersections, tile widths and any repeated motifs. On fabric, compare stripe spacing and direction. For brickwork, follow both the horizontal courses and the staggered vertical joints.
Viewpoint matters. Tiles farther from the camera can appear smaller, and stripes can bend around a fold. Copying a nearby repeat without accounting for that change can create a patch that has the right colors but the wrong geometry.
The generated comparison above uses a flat tile grid. The target removes the mug and its shadow, then continues the grout and blue diamonds through that area. It illustrates what to inspect; it is not a ClearRemover processing result or a verified recovery of the hidden tile texture.
Mark the object and the shadow you want removed
Open the object remover, upload the original photo and choose Objects. Keep a separate copy of the source so you can restart from it if the repair changes the pattern.
- Brush over the complete object. Include handles, thin edges and small detached parts that belong to it. Reduce Brush size where the object meets a line you want to retain.
- Include its unwanted cast shadow. A shadow left on an otherwise empty tile can still reveal the removed object. Cover the shadow you want gone while leaving unrelated scene shadows alone.
- Review the selection before pressing Erase. Use Undo to correct a brush stroke. Leave the surrounding visible repeats outside the mask; they are useful reference points for judging the result.
- Process once, then inspect the saved image. Check the repair at a useful close-up scale before spending another edit on it.
ClearRemover's Objects mode asks the image model to fill the marked area from the surrounding scene. It does not expose a clone-source point, an aligned-copy control or a perspective adjustment. Its instruction to keep the rest of the photo unchanged is not a guarantee that every unmarked pixel stays identical.
Check continuity across the repair
Trace one grout line all the way through the filled area. Then trace the line crossing it. A local patch can look tidy on its own and still meet the surrounding grid at the wrong angle.
Compare the spacing of neighboring repeats. Look for a tile that becomes narrower halfway across, a diamond inserted between two expected intersections, or a stripe that splits into two. Check texture and lighting after the larger geometry makes sense: a perfectly smooth tile in an otherwise worn surface can be another visible seam.
The power-line removal guide uses a similar edge check where a repair crosses a roof or another straight boundary. Removing the distraction is only part of the review.
If the pattern is broken, return to the original for the next attempt. Correct an incomplete object or shadow selection before trying again. Do not keep erasing a damaged repeat simply because the object itself has already gone; each new processing run can use another allowance or credits, and a later fill does not verify the earlier one.
When a clone repair gives you more control
For a flat, regular pattern with an intact matching section nearby, a clone tool lets you choose the pixels used for the repair. GIMP's Clone documentation explains source sampling and Aligned mode, which keeps the same source-to-destination offset across strokes.
Choose a source with matching repeat spacing and lighting, line up a clear intersection, and check both ends of the copied section. Work on a separate layer or copy so you can revise it. A sloping floor or folded fabric may need a perspective-aware repair rather than a straight copy. These controls belong to a separate editor; ClearRemover does not currently offer them.
If no matching source exists and the object hides important design details, use another photograph or reshoot. A convincing generated repeat should not be treated as evidence of the original surface.
Keep the export limits in view
ClearRemover accepts JPG, PNG and WebP files up to 20 MB. Before selective erasing, it prepares the photo as JPEG at no more than 2048 pixels on the longest side. Standard results download as JPG at up to 1024 pixels on the longest side. HD uses 2K processing and costs 2 credits; it does not promise the camera original's dimensions or an exact reconstruction of a hidden pattern. Check the saved-dimension guide if a repair looks smaller than your source.
Eligible Standard edits share a daily free allowance with background removal: one edit without an account and one additional edit after Google sign-in, subject to availability. It resets at 00:00 UTC. ChatGPT-referred visits are not eligible for that free allowance. Further Standard edits cost 1 credit; check current pricing before another run.
Keep the original and reject the repair if the repeat changes in a way that matters to the photo's use. A small crop can be a better finish when it removes the distraction without sacrificing the subject.